IBM released WebSphere Application Server (WAS) 9 initially on their cloud – Bluemix. And now it’s available for you to download and install it. I hope installation procedure will remain similar to the previous version but let’s see how it goes. If you are new to WebSphere then don’t forget to a chekout little introduction about it. In this article, I’ll explain step-by-step from where to download WAS 9 and install it using IBM Installation Manager.
Download & Install IBM IM 1.8.5
IBM IM 1.8.5 or later is required to install WebSphere 9 so let’s get it installed.
Download IM 1.8.5 from the following location
I am not sure if it will work but you may try this direct link to download as well. It’s around 164 MB for Linux 64bit so based on your internet speed it may take few minutes.
Once downloaded, you should have the following.
Let’s extract by unzip command
After extract, you should see the following
It’s time to install IBM IM 1.8.5 now by executing an install file.
it will prompt an installation wizard, click Next
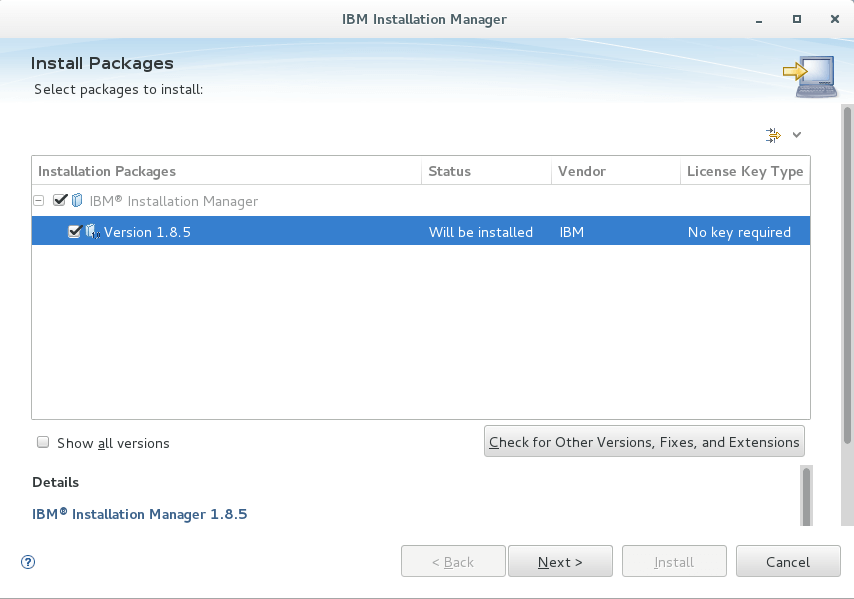
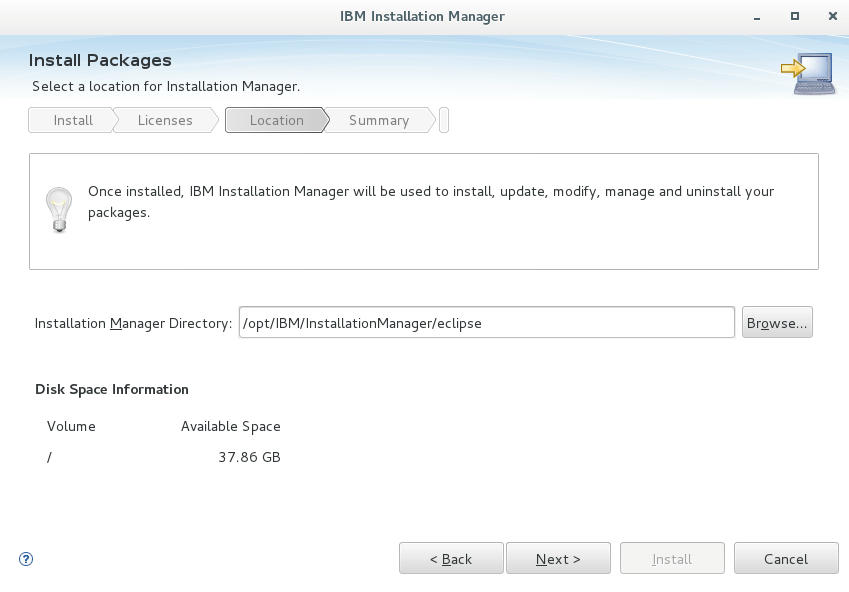
Accept the license and click Next By default, it will install on /opt/IBM however, if you wish to change then you may do on next screen
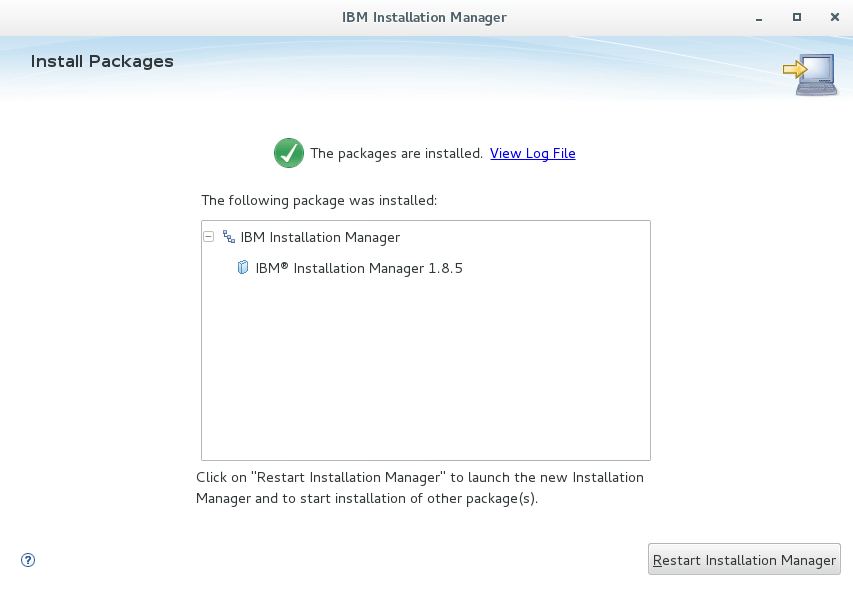
Review the summary information and click Install It will take few seconds and give you the confirmation on successfully installed
Nice, first pre-requisite is done.
Installing IBM WAS 9
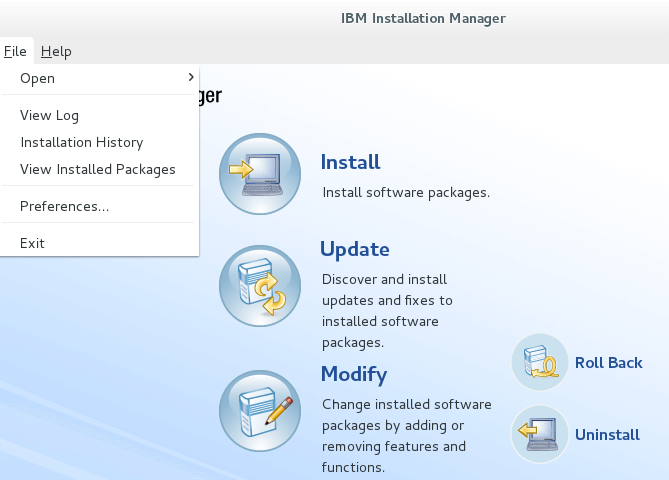
We will install WebSphere using IBM IM through an online repository. If not already, open IBM IM
Go to File » Preferences
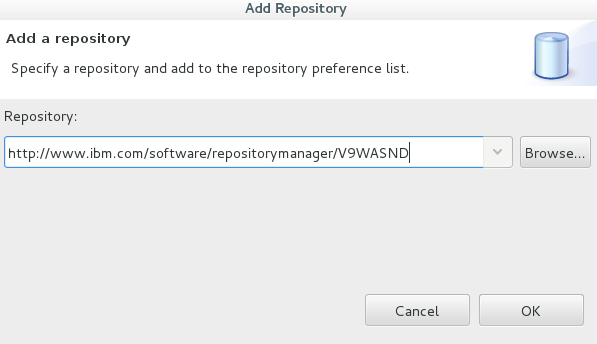
Click “Add Repository”, it will open a prompt where you can enter the repository path and click Ok
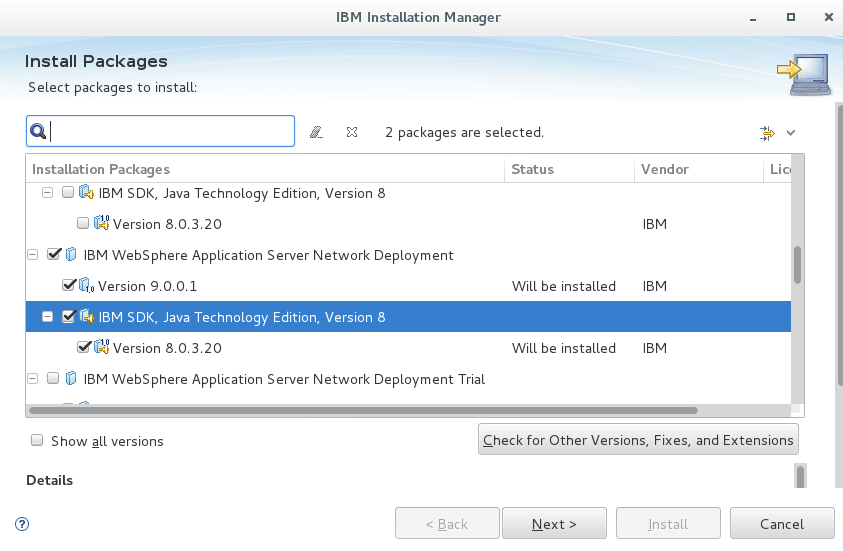
Click “Install” Select the WAS ND 9 & Java 8 from the list and click Next
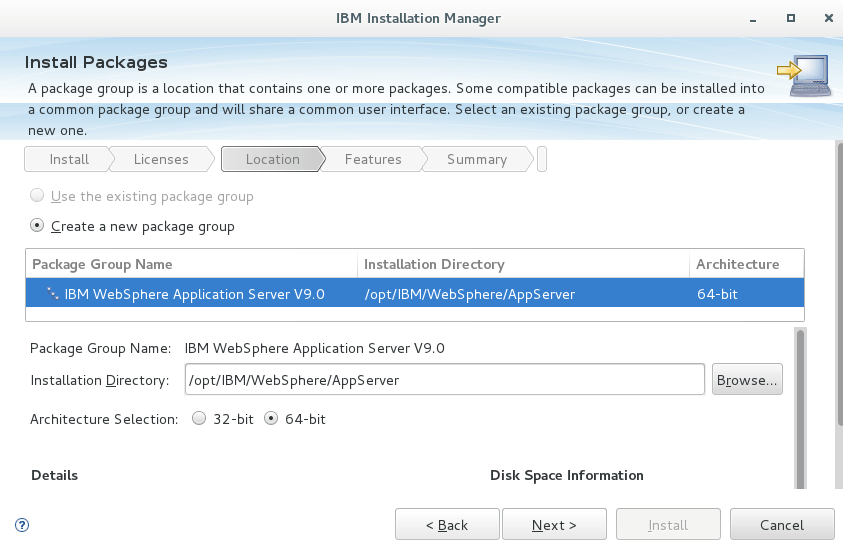
Accept the license and click Next By default, shared resources will be installed on /opt/IBM/IMShared and if you need, you can change on next screen
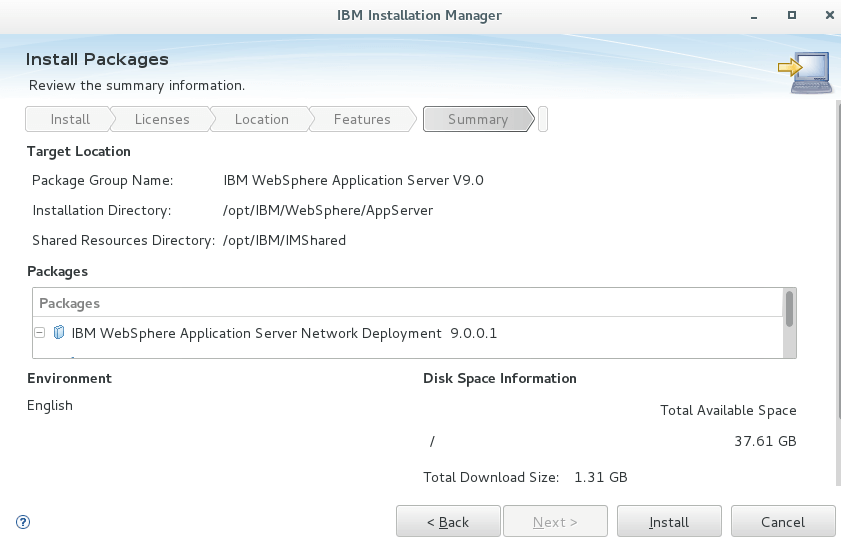
Select the additional language if needed and click Next Review the installation summary and click “Install”
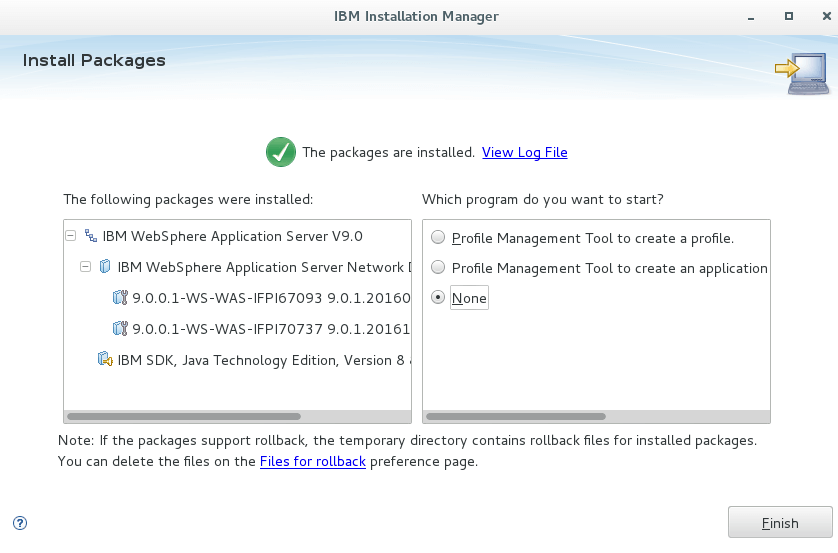
It will take few minutes to install and once done, you will get the confirmation screen.
Well done, you’ve successfully installed WAS 9 ND. Stay tuned for next post on profile creation
![]()
![]()


![]()
![]()
![]()
![]()

![]()


![]()
![]()
![]()

