Besides, bring-your-own-device (BYOD) policies and cloud adoption have further increased IT admins’ complexity and work. You are required to track and scan the entire IP resources, so the devices and users in the network could be allocated with fresh IPs while accessing your network. Not to mention, multiple devices constantly connect and disconnect from the network, which is why scanning IP resources becomes essential for the stable availability of your network. So, what’s the solution for it? An efficient IP scanner. A quick and hassle-free IP scanner is what everyone looks forward to. And Advanced IP Scanner is one of the best you can go for in this regard. In this article, I’m going to discuss this tool to help you decide whether it is worth your attention or not. Let’s start. Shall we?
Advanced IP Scanner: A detailed view
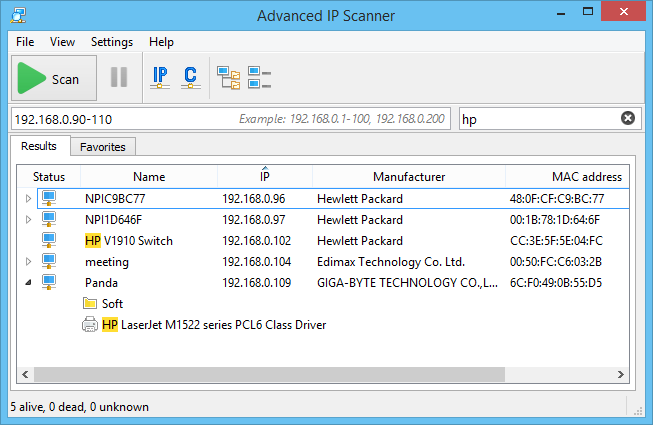
Having garnered over 52 million users’ trust, Advanced IP Scanner by Famatech is a free and reliable network scanner. It shows the entire network devices, provides remote system control, and grants access to even shared folders to better analyze your network by scanning your Wi-Fi or LAN network. In addition to this, the tool can also help you switch off your computers remotely. From installation and running this tool to using it, everything is straightforward. Advanced IP Scanner is built to work with Radmin’s remote administration program that further adds to its capabilities. The tool is useful for network admins and for advanced users wanting to keep an eye on their network.
Features 🙋
Easy to access
You can detect Wi-Fi routers, wireless devices, shared folder, FTP, and other network devices.
Radmin and RDP
In addition to the tool’s network scanning features, it can also take care of complex tasks. With the help of Radmin, Advanced IP Scanner helps establish connections remotely. The IP scanner allows you to perform file transfers, text chat, voice chat, establish Telnet connections, ping, SSH, and more. In case you want to connect to a device in multiple ways, use its Tool menu. You can also explore more remote desktop software to manage remote workstations.
Other features
MAC address detectionExport results to CSVAsset trackingCloud asset inventoryCapacity monitoringEvent logsCompliance and license management
Portable tool
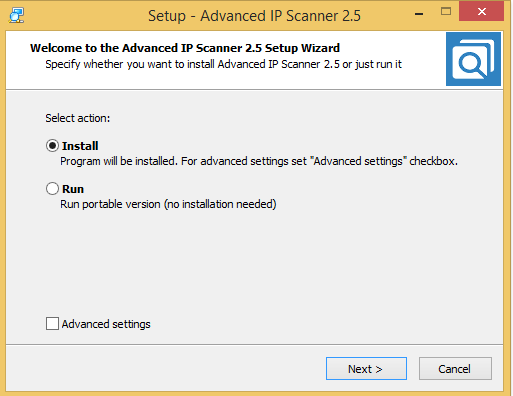
You can use this tool on your computer without installing it necessarily. When you launch its installer, you would be asked to choose one among two options:
Run the programGo through a standard setup process.
As a result of the tool’s portable version, it would not create extra folders or files on your system. You get some temporary ones that you need to run the application. In addition to this, the tool will never tamper with the registry entries present on your computer.
Entirely free to use
Advanced IP Scanner is available completely free for you to use. There are no time limits, hidden costs, or feature limitations that they impose on you.
Minimalist interface
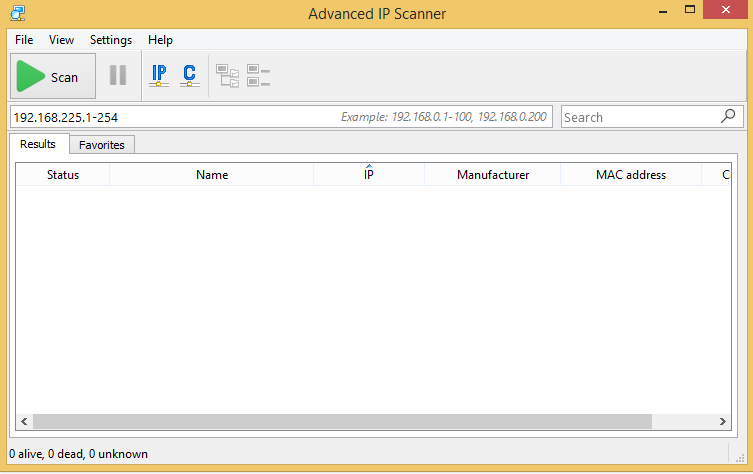
This IP Scanner is equipped with a simple interface that both experienced and beginner users can use without difficulty. Despite its simplicity, it providers intuitive features and clarity of information. Accessing features is possible in two ways, which you can choose based on your preferences:
By using toolbar buttonsTraditional menus
Besides, it lets you interact with all the devices it has identified post scanning. To interact with those devices, you need to right-click on them and utilize their context menu.
System requirements
The prerequisites or system requirements of Advanced IP Scanner are kept minimum. However, there is no official data regarding the OS, space, memory, or CPU requirements. On its official website, you could only see that the tool is compatible with Windows 10. So, if you have another Windows version, you can try out whether it works with your computer system or not, but the greater chances are it will.
Installing and Configuring Advanced IP Scanner
All the installation and configuration steps are straightforward. Just follow these steps, and you are done!
Installation:
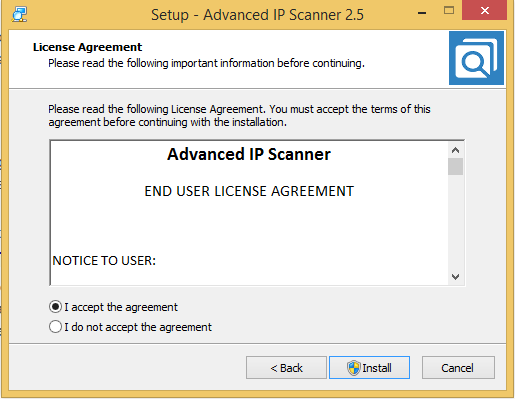
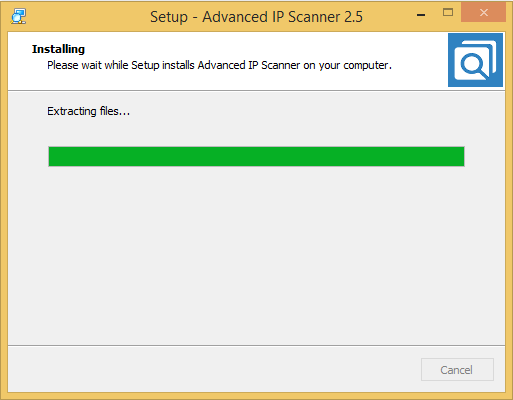
Step 1: To install the Advanced IP Scanner, go to its official website and click on “Free Download”. Step 2: After you have done downloading the program, you can open it. You could see something like this: Here, you could see two options. Go with any one of your choices, but here, I’m installing the program to take you deep into the process of how it is done. Otherwise, you can go with the portable version, requiring no installation. Step 3: Accept the license agreement, and then click on “Install”. Now, you could see this screen. Step 4: You have installed the program, and now you are ready to scan your network by pressing the big green button “Scan”. So, initiate scanning!
Configuration:
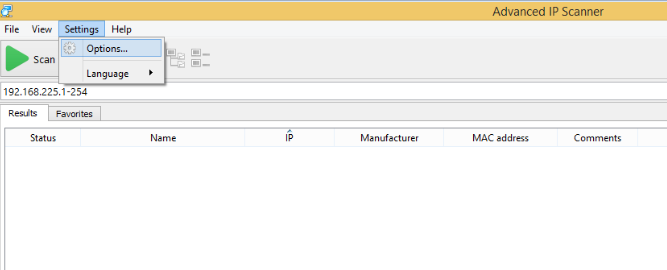
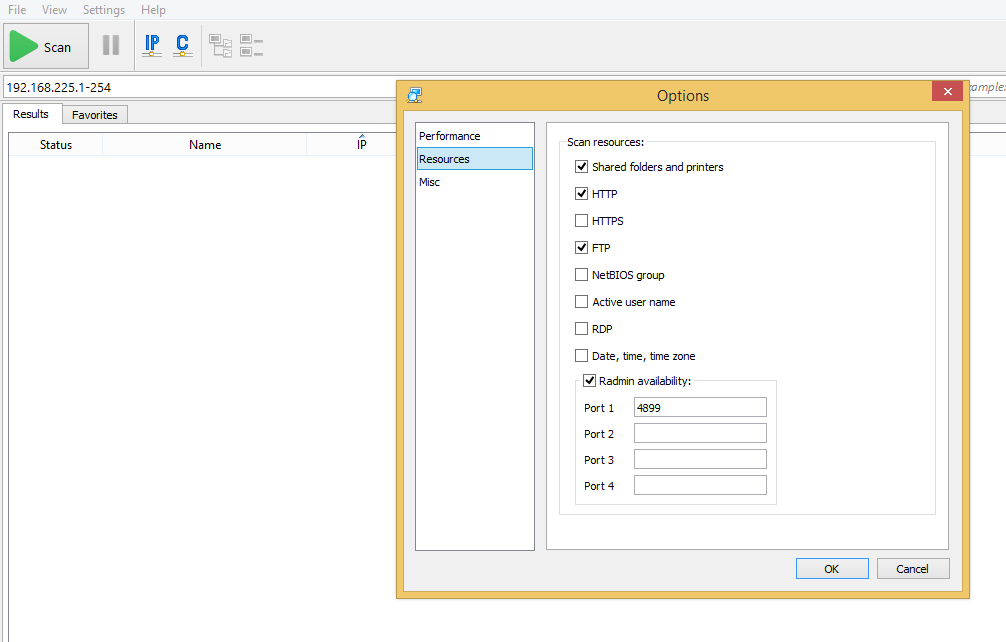
If you are not satisfied with default settings, and there’s nothing wrong with it. Explore the potential of this tool by configuring it the way you want to use it. And the best thing, it allows a lot more stuff than what you get in default. First, you can click on the button – “Settings” available on the menu bar, and then choose “Options”. You could see a new window where you can adjust its settings for resources, performance, and other useful things. For example, you are allowed to set the scanning in a relatively slow manner. As a result of which CPU usage will be low, but the time taken would be longer. On the contrary, you can also enable the app to run fast scanning, which will consume more CPU. Apart from that, you can set high-accuracy scanning to get more output, but in a longer time. You can toggle scan your resources, including RDP, FTP, HTTP, etc., from the category – “Resources”.
Conclusion
I hope you now have a better understanding of Advanced IP Scanner and what this tool can do for you. Thus, start scanning your network and remain informed of what systems are connected within your network through its capabilities to stay on the safer side.

![]()

